Interactive Computer Graphics with OpenGL
This showcases the assignments from Dr. Cem Yuksel’s Interactive Computer Graphics Course at the University of Utah. Checkout the code here!
Project 1 - Points and Transformations
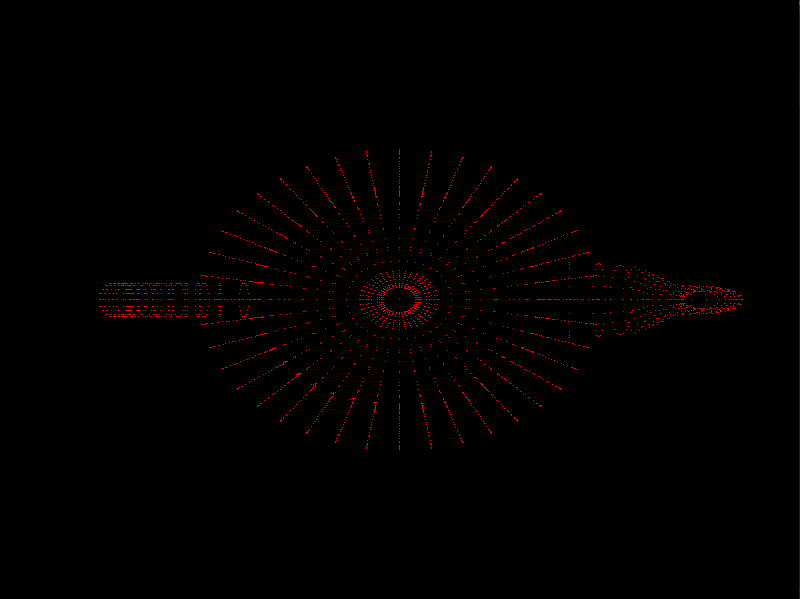
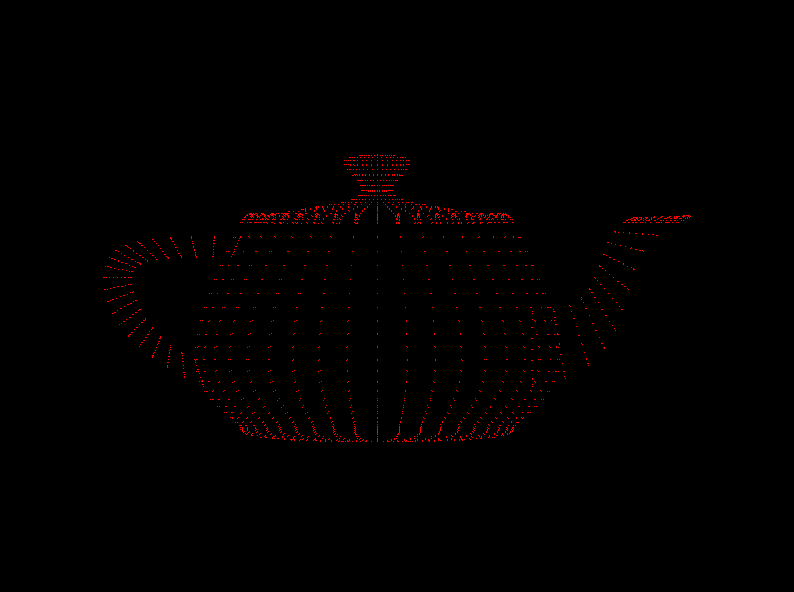
Instead of placing the points by hand on the z axis, let’s add some perspective projection and then actually position the points in camera space with the view space matrix.
Perspective projection adjusts the points to appear on the 2D view as if they were viewed from the point at the center of the camera and gives depth to the images.
The view space matrix let’s us transform the points from world space to the coordinate system of the camera.
P = position of the camera
F = direction from the camera to the target
U = the Up direction in camera space
S = orthogonal direction to both F and U to create the view plane
Start by getting the points on the screen:
Create the window and register functions with glut and glew
Load the Mesh
Create vertex array and buffer objects for the points
Compile and bind the shader scripts
Just add a scale matrix to make the points visible.
We are able to calculate the view matrix with just the camera position, target position, and a guess at the up direction that is not parallel to F.
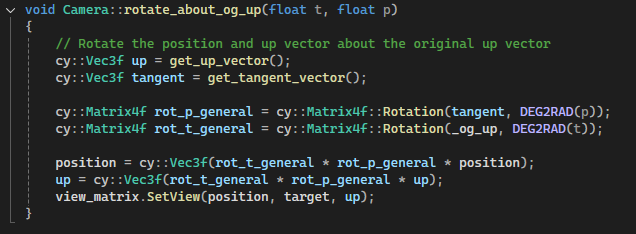
This allows us to easily manipulate the camera around an object in a similar way to Houdini. We just have to save a world up direction that we will rotate around by theta, and then rotate around the previous S by phi.
Project 2 - Shading and Triangle Meshes!
There wasn’t too much of a difference moving from triangles to meshes. The most interesting part is minimizing the amount of data we have to send to the GPU with an element buffer.
With element buffers, each vertex/normal/texture array has 3484 indices for the teapot, and we can use glDrawElements. Without an element buffer and when copying each unique combination of indexes, each array has 18,960 elements. That’s over 5x the data we have to send to the GPU to use the simpler glDrawArrays.
I also learned if you enable depth testing before you call glutCreateWIndow(), you end up without depth testing enabled like in the top right image.
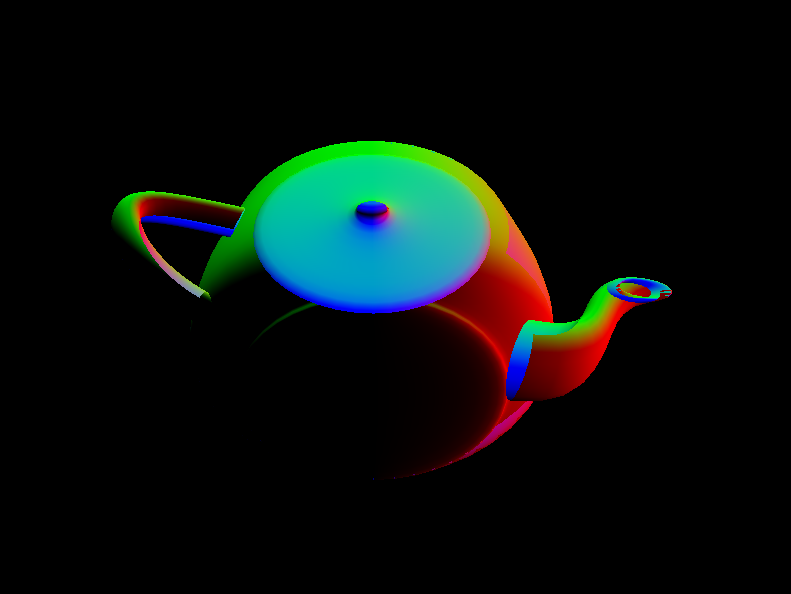
I also had fun learning how to color each triangle by its normal. I’ve always thought images like that were fun, so it was a good time to actually build it myself.
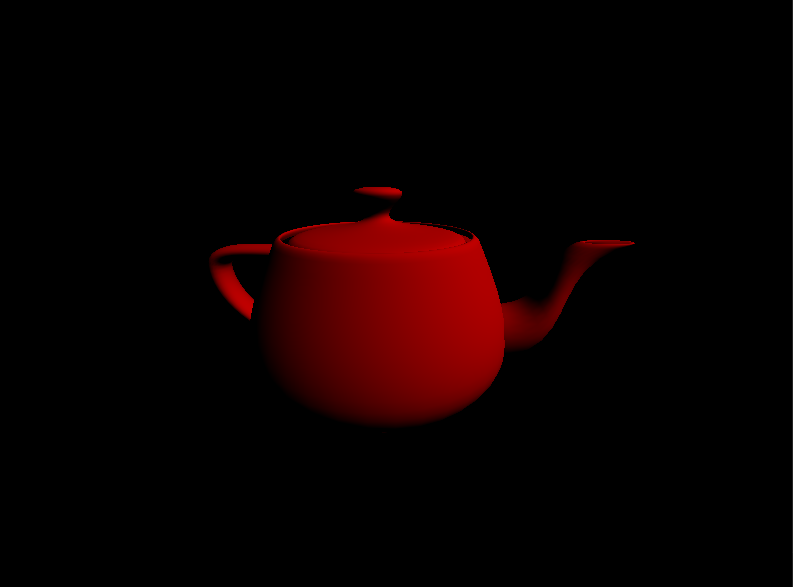
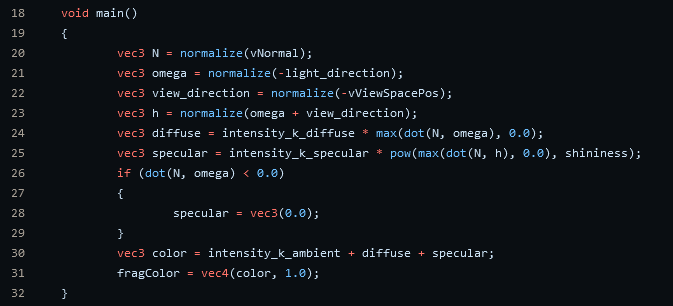
Things really started to come together once Blinn shading was implemented in the fragment shader.
Project 3 - Textures!
With everything in place from the previous assignments, adding textures was one of the easier assignments.
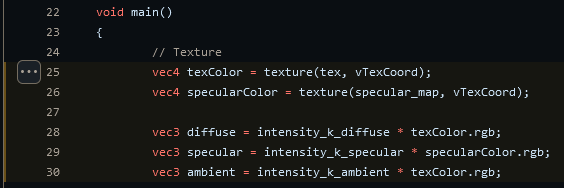
Since we already had the texture coordinates working with an element array, all that was left was to add the texture to the shaders.
Strings Aren’t Always The Way
When working on a .obj file reader, I was trying to figure out how to get face vertices of into vertex_face, texture_face, and normal_face arrays. Face lines generally come in the format:
f v/vt/vn v/vt/vn v/vt/vn
where f stands for face, v is the vertex index, vt is the vertex texture index, and vn is the vertex normal index. Other variations are here.
To allow for the lack of vertex textures or normals and to support quads, I tried writing my own function to take a line and parse the string into three different arrays. Turns out that std::string can be slow. So slow in fact, that this other implementation that uses a character buffer was twice as fast. But I like to think my implementation was fairly very readable. Most of the overhead comes from the std::istringstream anyway.

